


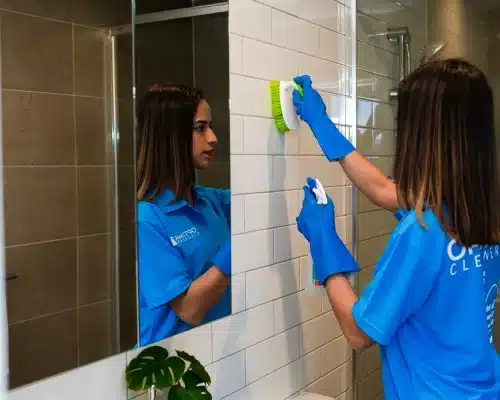
The Secret to a Mould-Free Bathroom: A Step-by-Step Guide
August 22, 2024 - floor cleaning, Home Cleaning, Spring cleaning, Tile and Grout Cleaning
Mould in the bathroom is the one guest no one wants, but plenty of us unknowingly host it. Whether it is those annoying black spots in the grout or a musty smell that lingers after a shower, mould can turn a relaxing bathroom into a bit of a nightmare. Beyond being an eyesore, mould is a health hazard, especially for anyone with allergies or respiratory issues.
Here is the good news: getting rid of bathroom mould is not as daunting as it might seem. This guide walks you through how to stop mould in bathroom grout, tiles and silicone for good, from removing what is already there to keeping it from coming back. Let’s get your bathroom back to being a fresh, clean space.
Why mould keeps coming back in your bathroom
What is Mould?
First things first, let’s talk about what mould actually is. Mould is a type of fungus that thrives in damp, warm environments, exactly the kind of place your bathroom can be. It comes in various colours, including black, green, white, and even pink, and spreads through airborne spores. These spores can settle on any surface where moisture is present, making your bathroom a prime target.
Causes of Bathroom Mould
So, why does mould love your bathroom so much? The main culprit is moisture. Whether it’s from hot showers, baths, or even the sink, bathrooms tend to have higher humidity levels than other rooms. Without proper ventilation, this moisture has nowhere to go, creating the perfect breeding ground for mould. Add in any leaky pipes or poor insulation, and you’ve got a mould paradise.
Specific areas that are most prone to mould include:
- Tiles and Grout: The spaces between tiles are like mould magnets because they’re porous and can trap moisture.
- Ceilings and Walls: Steam rises, and if your bathroom isn’t properly ventilated, mould can start to grow on the ceiling or walls.
- Around the Sink and Bath: These areas can stay wet long after you’ve finished using them, especially if there’s a leak or if water doesn’t drain properly.
Signs of Mould in Your Bathroom
Sometimes, mould is easy to spot. Black or green spots on the walls, ceiling, or grout are dead giveaways. But mould isn’t always obvious. You might notice a musty, damp smell that doesn’t go away even after you’ve cleaned, or you might start experiencing unexplained allergy symptoms, like sneezing or itchy eyes, whenever you spend time in the bathroom. These could all be signs that mould is lurking somewhere out of sight.
What you need before you start
Before you dive into scrubbing away, it’s important to get your supplies ready and take some safety precautions. Mould can be nasty stuff, and you want to make sure you’re handling it correctly.
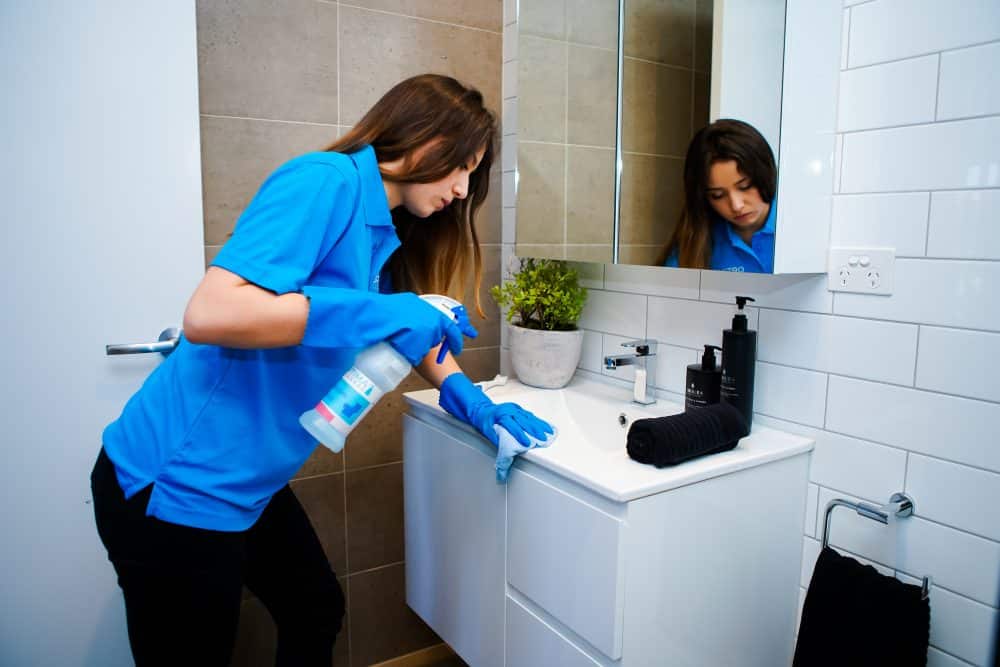
Gathering the Right Tools and Materials
Here’s what you’ll need to tackle bathroom mould:
- Cleaning Solutions: White vinegar and bleach are two popular choices. Vinegar is natural and effective, while bleach is stronger but more chemical-heavy. You can also find commercial mould removers specifically designed for bathrooms.
- Scrub Brushes and Sponges: You’ll need something with a bit of grit to scrub the mould away, especially on tough surfaces like grout.
- Protective Gear: Gloves are a must to protect your skin, and a mask can help you avoid inhaling mould spores or harsh fumes. If you’ve got safety glasses, those are a good idea too.
- Spray Bottles: For applying your cleaning solution, a spray bottle will make the job easier.
- Buckets and Rags: Handy for rinsing and wiping down surfaces.
- Caulk and Grout: You might need to replace old, mouldy grout or caulk after cleaning, so it’s good to have some on hand.
Safety Precautions
Cleaning mould isn’t without risks, so take some basic precautions:
- Wear Protective Gear: Gloves, masks, and safety glasses might seem like overkill, but mould and cleaning chemicals can be irritating to your skin, eyes, and lungs. Better safe than sorry!
- Ventilate the Area: Open windows and doors to keep fresh air circulating while you clean. If your bathroom has an exhaust fan, keep it running.
- Avoid Mixing Chemicals: This is crucial: never mix cleaning solutions, especially vinegar and bleach, as they can produce toxic fumes when combined. Stick to one method or the other. Better Health Channel, run by the Victorian Government, warns not to mix bleach with ammonia, acids or other cleaners, because it can release hazardous chlorine or chloramine fumes.
How to remove bathroom mould, step by step
Alright, now that you’re geared up, it’s time to tackle the mould head-on. We’ll break this down into easy-to-follow steps.
Step 1: Assessing the Extent of Mould Growth
Before you start scrubbing, take a good look around your bathroom. Identify all the areas where mould has taken hold. This might be obvious, like black spots on your tiles, or less so, like a musty smell near the sink. If mould has spread to large areas or is growing behind walls or under flooring, you might need to bring in a professional. But for most surface mould, a DIY approach will do the trick.
Step 2: Cleaning Mouldy Surfaces
Let’s get into the nitty-gritty of cleaning.
- Tiles and Grout:
- Mix Your Cleaning Solution: For vinegar, fill a spray bottle with undiluted white vinegar. For bleach, mix one part bleach to ten parts water. Both work, but don’t mix them together!
- Spray the Affected Areas: Generously spray the tiles and grout with your chosen solution. Let it sit for about 10–15 minutes to break down the mould.
- Scrub Away: Use a stiff brush, like a grout brush or an old toothbrush, to scrub the mould off the grout. For tiles, a regular scrub brush should do. Don’t be afraid to apply some elbow grease!
- Rinse and Dry: Rinse the area with clean water and dry it thoroughly with a towel. Remember, moisture is what started this whole mess, so the drier you can keep things, the better.
- Ceilings and Walls:
- Apply the Cleaning Solution: Use a spray bottle to apply your cleaning solution to the ceiling and walls. If you’re worried about dripping, you can soak a cloth in the solution and wipe it on instead.
- Gently Scrub: Ceilings and walls can be more delicate, so use a softer sponge or cloth to scrub. Focus on areas with visible mould, but it’s a good idea to clean the whole surface just in case.
- Rinse and Dry: Again, rinse with clean water and dry thoroughly. You don’t want any moisture left behind.
- Fixtures (Sinks, Tubs, Showers):
- Treat and Scrub: Spray or wipe down these areas with your cleaning solution, focusing on any mouldy spots. A regular sponge should work fine for most fixtures, but use a scrub brush for tougher spots.
- Check for Leaks: While you’re cleaning, keep an eye out for any leaks around the taps or drains. Even a slow drip can create enough moisture for mould to thrive.
- Rinse and Dry: Once everything’s clean, give it a good rinse and dry everything off.
Step 3: Addressing Persistent or Stubborn Mould
Sometimes, mould is stubborn, especially if it’s been left for a while. If you find that your usual cleaning methods aren’t cutting it, it might be time to try something stronger.
- Use a Commercial Mould Remover: These are specially formulated to tackle tough mould. Follow the instructions on the product, and make sure to use it in a well-ventilated area.
- Tackle Hard-to-Reach Spots: If you’ve got mould in tricky places like behind pipes or in corners, a long-handled brush or a cotton bud can help you reach those areas. Spray your cleaning solution directly onto the mould and let it sit for a bit before scrubbing.
- Reapply if Necessary: Sometimes, one round of cleaning isn’t enough, especially for heavy mould growth. Don’t be afraid to repeat the process until the mould is completely gone.
Step 4: Making Repairs
Once you’ve cleaned everything, you might notice that the mould has damaged some parts of your bathroom. This is where repairs come in.
- Re-caulking and Re-grouting: If the caulk or grout in your bathroom is mouldy or damaged, it’s best to replace it. Scrape out the old material with a caulk remover tool, then apply fresh caulk or grout. This will not only make your bathroom look better but also seal out moisture.
- Fixing Leaks: Even a small leak can create a big mould problem over time. Check under sinks, around the bath, and near the toilet for any signs of leaking. If you find one, fix it as soon as possible to prevent future mould issues.
- Sealing Cracks and Gaps: Any cracks in your tiles, walls, or ceiling can let in moisture, so it’s important to seal them up. Use a waterproof sealant or filler to close any gaps, and make sure everything is watertight.
How to stop mould coming back
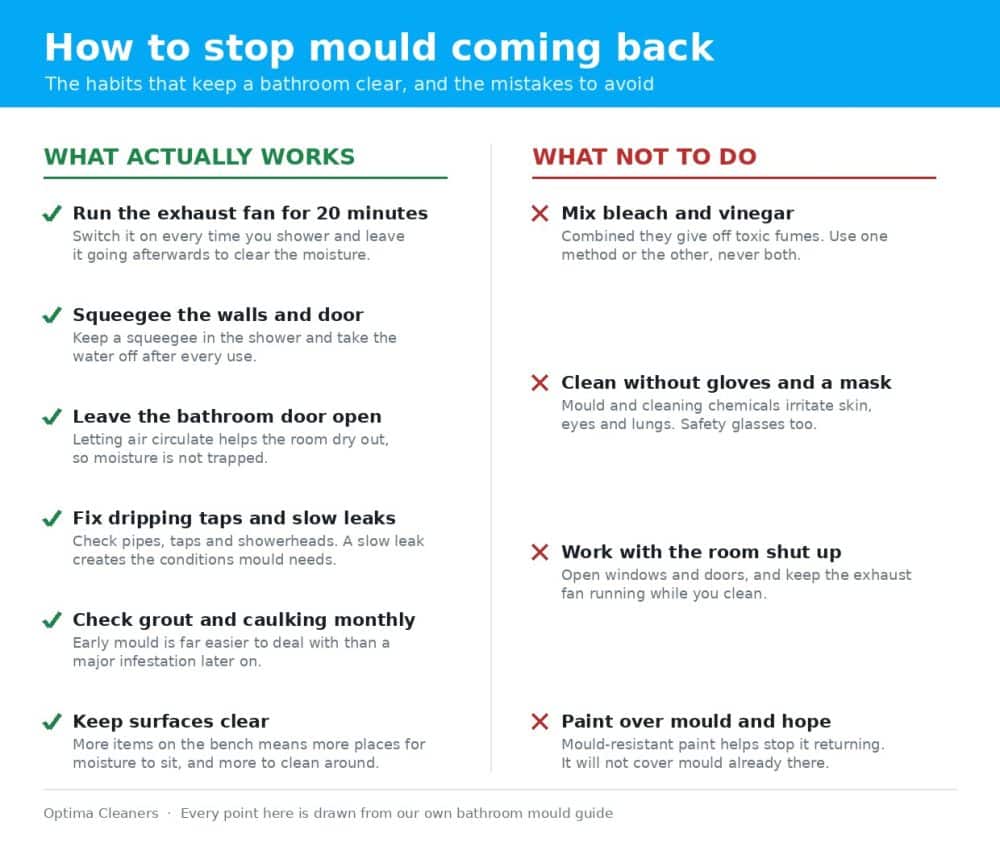
Now that you’ve put in the hard work of removing mould, the last thing you want is for it to come back. Fortunately, there are several steps you can take to keep your bathroom mould-free in the long run.
Improving Bathroom Ventilation
Good ventilation is key to preventing mould. Without proper airflow, moisture from showers and baths has nowhere to go, which can lead to dampness and, eventually, mould growth.
The Queensland Government makes the same point: mould grows in damp, dull and poorly ventilated spaces, and the fix is to keep air moving and let sunlight in, particularly in the bathroom.
- Install or Upgrade an Exhaust Fan: If your bathroom doesn’t already have an exhaust fan, installing one should be a top priority. An exhaust fan helps to remove moisture from the air, which can significantly reduce the likelihood of mould forming. If you already have one, consider upgrading to a more powerful model, especially if your bathroom is prone to staying humid.
- Use the Fan Correctly: Turn on the exhaust fan every time you shower or bathe, and leave it running for about 20 minutes afterward to clear out any lingering moisture. If your bathroom has a window, opening it for a few minutes after showering can also help air out the room.
- Leave the Door Open: After a shower or bath, keep the bathroom door open to allow air to circulate. This helps the space dry out faster and reduces the chances of moisture getting trapped.
Reducing Moisture Levels
Even with good ventilation, moisture can still build up in your bathroom, so it’s important to take additional steps to keep it at bay.
- Quickly Dry Wet Surfaces: One of the simplest but most effective habits you can develop is wiping down wet surfaces after you use them. Keep a squeegee in the shower and use it to remove water from the walls and door after every use. Wipe down the sink and countertop after brushing your teeth or washing your hands.
- Fix Leaks Promptly: A dripping tap or a slow leak might not seem like a big deal, but over time, it can create the perfect conditions for mould. Regularly check your pipes, taps, and showerheads for leaks and fix them as soon as you spot them.
- Use a Dehumidifier: If your bathroom tends to stay damp, even with good ventilation, consider using a dehumidifier. These devices help to reduce the humidity in the air, making it less likely that mould will grow. A small, portable dehumidifier can be easily moved in and out of the bathroom as needed.
Regular Cleaning and Maintenance
Consistency is key when it comes to keeping mould away. Regular cleaning and maintenance go a long way in preventing mould from getting a foothold.
If the bathroom has been left for a while and a wipe down is not going to cut it, a deep spring clean is the faster way to reset it.
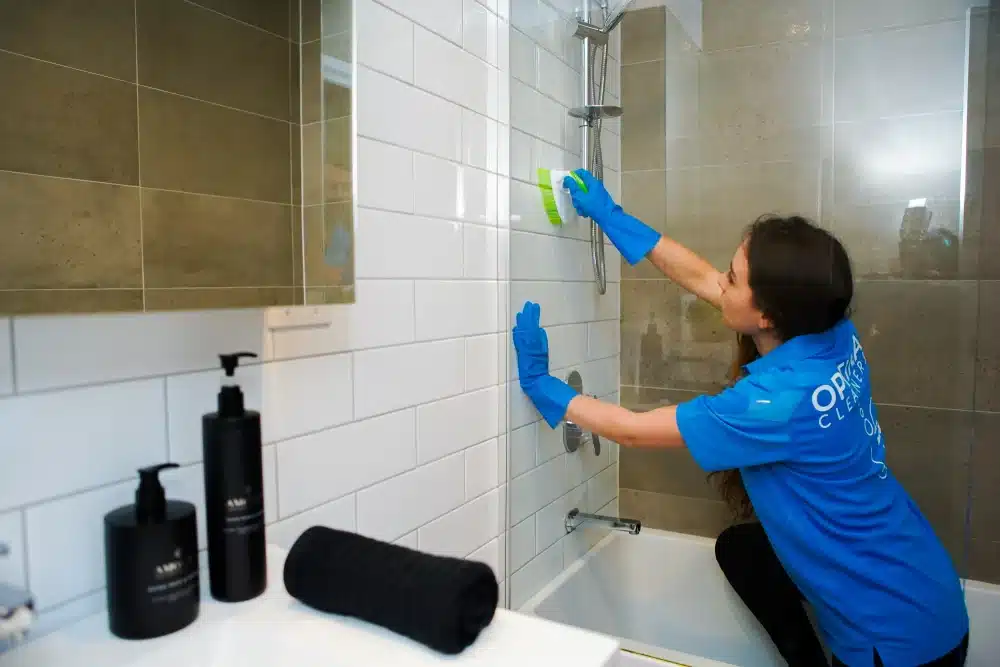
- Establish a Weekly Cleaning Routine: Set aside some time each week to thoroughly clean your bathroom. Focus on areas prone to mould, like the shower, tiles, and sink. Using a mould-resistant cleaner can add an extra layer of protection.
- Use Mould-Resistant Products: Consider switching to mould-resistant versions of common bathroom items. Mould-resistant shower curtains, for example, are less likely to develop mould than standard ones. You can also use mould-resistant paint on your walls and ceiling, which contains additives that inhibit mould growth.
- Inspect Regularly: Every month or so, give your bathroom a once-over to check for early signs of mould. Pay special attention to the grout, caulking, and any hidden corners where moisture might accumulate. Catching and dealing with mould early is much easier than tackling a major infestation later on.
Extra steps that stop mould in bathroom grout and silicone
In addition to cleaning and drying, there are a few extra steps you can take to make your bathroom even more mould-resistant.
- Use Mould-Resistant Paint or Additives: When repainting your bathroom, opt for mould-resistant paint. These paints are designed to repel moisture and prevent mould from forming. If you prefer, you can also add mould inhibitors to regular paint.
- Apply Mould Inhibitors: Mould inhibitors aren’t just for paint, they can also be used on other surfaces like tiles, grout, and caulk. Applying a mould inhibitor after cleaning can help keep mould from coming back.
- Keep the Bathroom Clutter-Free: The more items you have in your bathroom, the more places there are for moisture to get trapped. Try to keep surfaces clear and store personal items in cabinets or drawers. This will also make it easier to clean and dry surfaces.
When to call a professional
Despite your best efforts, there may be times when mould becomes too much to handle on your own. Knowing when to call in a professional can save you time, money, and frustration in the long run.
Identifying Situations Beyond DIY
Not all mould problems are created equal. While small patches of mould are usually manageable with DIY methods, larger infestations might require professional help.
Mould that has worked its way into grout lines and silicone is the usual tipping point. Once it is below the surface, scrubbing only takes the colour off the top. That is when a professional tile and grout cleaning treatment earns its keep.
- Large-Scale Mould Growth: If mould is covering a large area, or if it has spread to places like inside the walls or under flooring, it’s time to call in the pros. They have the tools and expertise to handle extensive mould removal safely and effectively.
- Mould That Keeps Coming Back: If you’ve cleaned and cleaned but the mould keeps returning, there’s likely a deeper issue that needs addressing. Professionals can identify the root cause, whether it’s a hidden leak or a ventilation problem, and fix it properly.
- Health Concerns: If you or someone in your household is experiencing ongoing health issues like allergies, asthma, or respiratory problems that seem to worsen when in the bathroom, it’s important to have the mould assessed by a professional. Some types of mould, like black mould, can be particularly harmful to health.
What to Expect from Professional Mould Removal
If you decide to hire a professional, it’s helpful to know what to expect.
- Inspection and Assessment: A professional mould removal service will start with a thorough inspection to identify the extent of the mould problem. They’ll look for visible mould, test for hidden mould, and identify any underlying issues causing the mould.
- Mould Removal Process: The actual mould removal process can vary depending on the severity of the infestation. Professionals use specialised equipment and cleaning solutions to remove mould from all affected areas. They’ll also take steps to ensure the mould doesn’t spread to other parts of your home during the cleaning process.
- Repairs and Prevention: After removing the mould, professionals may also handle any necessary repairs, such as replacing damaged drywall or fixing leaks. They can also advise you on steps to prevent mould from returning, such as improving ventilation or installing mould-resistant materials.
- Cost Considerations: Professional mould removal can be expensive, especially if the mould problem is extensive. However, investing in professional help can save you money in the long run by preventing further damage to your home and health.
Common questions about bathroom mould
How do you stop mould growing in a bathroom?
Control the moisture and mould has nothing to grow on. Run the exhaust fan every time you shower and leave it going for about 20 minutes afterwards, keep a squeegee in the shower and wipe down the walls and screen after use, and open a window or door so the air keeps moving. If the room stays damp even with good ventilation, a dehumidifier will help.
Why does mould keep coming back in the same spot?
Because the moisture that caused it is still there. Scrubbing removes what you can see, but if the room is not drying out properly, or there is a leak behind the wall, the mould returns to the same spot. Find and fix the moisture source first, then clean.
What kills mould on bathroom tiles and grout?
Undiluted white vinegar in a spray bottle, or one part bleach to ten parts water, will both deal with surface mould on tiles and grout. Let the solution sit before you scrub, work it into the grout lines with a stiff brush, then rinse and dry the area.
Does bleach or vinegar work better on bathroom mould?
Both work on surface mould. Vinegar is the safer option for regular use and is gentler on grout over time. Bleach lifts the stain faster but is harsher. Never mix the two, and never mix bleach with ammonia, acids or other cleaners, because the combination can release hazardous fumes.
When should you call a professional for bathroom mould?
When the mould keeps returning after cleaning, covers a large area, or has worked into the grout and silicone so that scrubbing only lifts the colour off the top. At that point the problem is below the surface and needs professional treatment.
Conclusion
Congratulations! You’ve now got the knowledge and tools to tackle bathroom mould like a pro. By understanding what causes mould, knowing how to remove it safely, and taking steps to prevent it from coming back, you can keep your bathroom clean, fresh, and healthy.
Remember, the key to a mould-free bathroom is vigilance. Regular cleaning, proper ventilation, and quick action at the first sign of mould will go a long way. And if the mould ever does get out of hand, don’t hesitate to call in the experts.
A clean bathroom is more than just a nice-to-have: it’s a crucial part of maintaining a healthy home. So take a deep breath (of fresh, mould-free air) and enjoy your beautifully clean bathroom!
If the mould has beaten you, we clean tile and grout in Sydney, Melbourne, Brisbane, Perth, Adelaide and on the Gold Coast.
Author Profile

- Radoslav is a managing director at Optima Cleaners, but copywriting has been one of his passions for many years. When he's not hunched over his keyboard, you'll find Radoslav exploring quaint bookstores for inspiration or sipping espresso at his favorite local café, always on the hunt for the next big idea to ignite a brand's success. With a pen in one hand and a coffee cup in the other, Radoslav continues to captivate audiences and breathe life into every brand he touches.
Latest entries
 Oven CleaningOctober 6, 2026Built-In or Balcony BBQ? What to Sort Before a Clean
- Upholstery cleaningSeptember 16, 2026Why Your Freshly Cleaned Sofa Might Look Worse
- Oven CleaningSeptember 5, 2026Is a Dirty Oven Dangerous? What Burnt-On Grease Really Does
- Window cleaningJuly 29, 2025Windows and Mirror Cleaning: Professional Secrets from Optima Cleaners

Previously
Professional Solar Panel Cleaning Services: A Homeowner's Guide
September 10, 2024
Next
5 Signs Your Home Needs a Professional Cleaning Service
August 18, 2024Latest Blog Posts
October 6, 2026 - Oven Cleaning
Built-In or Balcony BBQ? What to Sort Before a Clean
Most BBQ cleaning advice assumes a freestanding hooded BBQ on a concrete patio, a few steps from a garden tap....
Read More

September 16, 2026 - Upholstery cleaning
Why Your Freshly Cleaned Sofa Might Look Worse
Why stains reappear after sofa cleaning, what water damage does inside cushion fill, and why a deep clean can look like nothing happened. Four real jobs.

September 5, 2026 - Oven Cleaning
Is a Dirty Oven Dangerous? What Burnt-On Grease Really Does
Most people live with a dirty oven until something forces their hand. Usually that means after a spill has burned...
Read More

July 29, 2025 - Window cleaning
Windows and Mirror Cleaning: Professional Secrets from Optima Cleaners
You know that feeling when you’ve spent twenty minutes scrubbing your bathroom mirror, only to step back and see more...
Read More
July 8, 2025 - Home Cleaning
Essential Australian Home Defense: Protecting Your Property from Our Harshest Elements
Most homeowners think gutter cleaning is about aesthetics or maybe preventing a bit of overflow during a storm. That thinking...
Read More

June 19, 2025 - DIY cleaning, Home Cleaning
What to Clean Before Guests Arrive (And What You Can Totally Ignore)
The text notification pops up on your phone: “Can’t wait to see you this weekend!” Your heart does a little...
Read More

June 3, 2025 - Carpet Cleaning, Home Cleaning
5 Simple Steps to Keep Your Cowhide Rug Looking Brand New
There’s something undeniably captivating about a beautiful cowhide rug. Whether it’s gracing your living room floor with its natural patterns...
Read More
May 16, 2025 - Mattress Cleaning, Upholstery cleaning
Steam Cleaning vs Dry Cleaning for Upholstery: Which Is Better?
If you’ve got a well-loved sofa or an armchair that’s seen a few too many movie nights, chances are you’re...
Read More
May 6, 2025 - Spring cleaning, Tips and tricks
How to stop insects from taking over your home naturally and effectively
Why Insects Invade Your Home in the First Place If you’ve ever spotted a trail of ants across your kitchen...
Read More

April 15, 2025 - Carpet Cleaning, Tips and tricks
6 Methods to Remove Crayon From Your Carpet
It happens in almost every home with small children at some point – that heart-stopping moment when you discover bright...
Read More